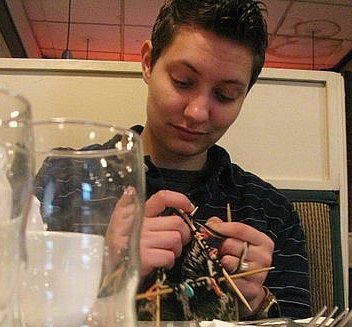
A few weeks ago I (and another coworker) taught one of my coworkers to knit. What follows is basicly word for word what I wrote on Ravelry, just FYI.
I wanted to give her a project to work on right away. From my early knitting experiments I knew that if I wanted her to be excited about knitting and not hate it, the pattern needed to be something super basic, fast and wearable. Scarves take too long for a beginner in my opinion. I didn't want her to give up before she was able to finish a project. A simple garter stitch neckwarmer, with buttons is the perfect project to learn casting on, knitting, binding off. Best of all it is cute and wearable.
Without further ado, the only pattern I have ever written, if you can even call it that. All I really did was wing it and then count.

Start by casting on 25 Stitches on size US10- US10.5 needles. Knit in Garter stitch until the piece is the desired length to wrap comfortably around her neck end to far-side (see picture).
The button holes are made by binding off the stitches for the button holes on one row and then casting them back on on the following row. I used the knitting on method to cast them back on. Backwards loop would also work but I find it harder to knit from and not as neat looking.
first button-hole row: K4, (BO3, K4) 3 times.
second button-hole row: K4, (CO3, K4) 3 times.
Knit 5 more rows and bind off.
If you are going to wash and/or block, do it here, before you buy buttons. Your buttons holes my stretch in the process of washing/blocking and you want to make sure they are a good fit. I recommend taking the scarf with you to buy the buttons. The buttons should go through the button holes snugly but easily.

Fold the neckwarmer as shown in the above photo so you can see where the button holes hit the opposite side of the neckwarmer. Use locking stitch markers or safety pins to mark where the buttons should go and unfold the neckwarmer so you can sew the buttons on. Sandwich the neckwarmer between the button and a small piece of stabilizer or sturdy fabric.
Using embroidery thread, sew the button on through both the knitting of the neckwarmer and the stabilizing fabric. This will give you a more stable fabric to sew the button to and help prevent the thread from cutting through the yarn with wear. Remove whatever you used to mark the spot for the buttons as you go. They aren't part of the finished piece ;)

Wear with pride!
Edit 12-29-12: you can now download the pdf version!


I have been looking for something simple like this to knit up for myself. Thanks for posting this. :)
ReplyDelete